

OBS Quick Set Up Guide
Quick Setup Guide for OBS Studio
Welcome to our comprehensive guide for setting up OBS (Open Broadcaster Software). This walkthrough will help you configure OBS properly for both streaming and recording needs using UK English standards.
Starting with Optimal Settings
Begin your OBS journey by configuring the most suitable settings for your recordings and streams. The Auto-Configuration Wizard automatically optimises OBS Studio based on your specific requirements, whether you’re streaming action-packed gameplay or capturing high-quality video content. This intelligent tool considers your intended use of OBS Studio, evaluates your computer’s hardware capabilities, and assesses your network conditions (particularly important for streaming).
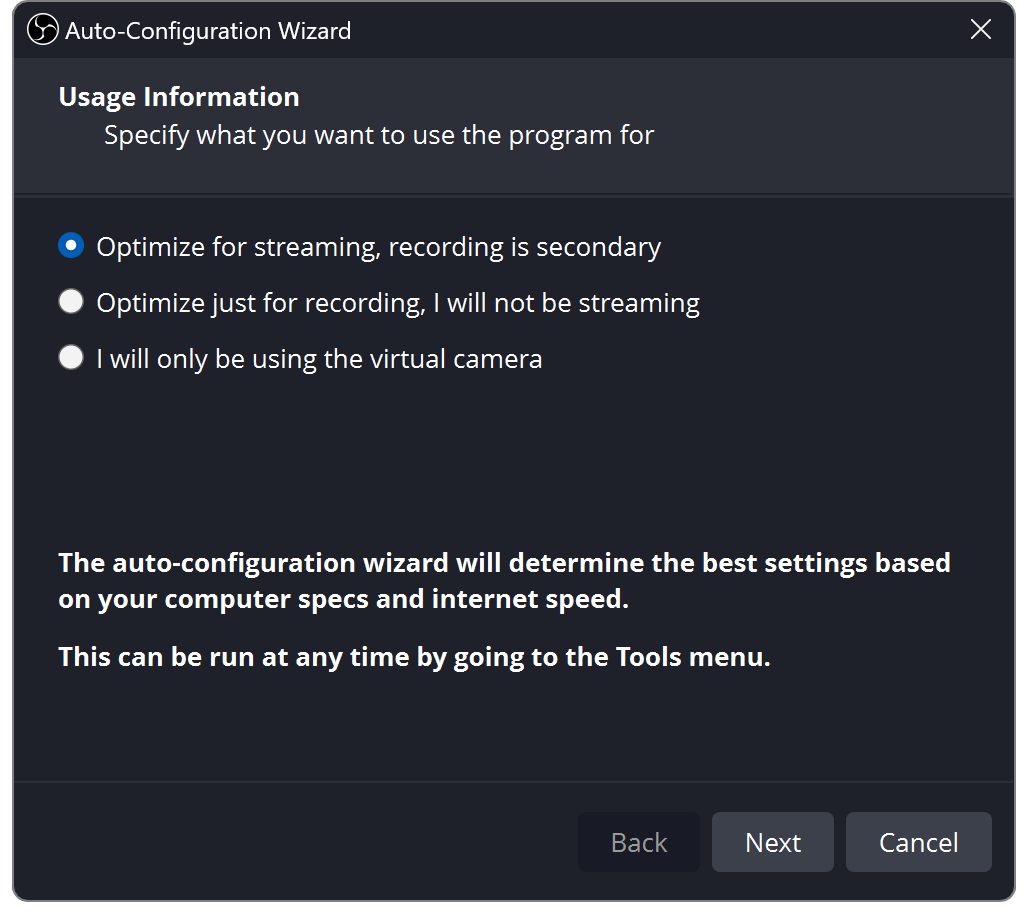
The wizard appears automatically when you first launch OBS Studio. Should you wish to run it again later, simply navigate to the Tools menu → Auto-Configuration Wizard.
Creating Your First Scene
When you initially start OBS Studio, you’ll be presented with an empty scene ready for customisation. You can enhance this scene by adding various Sources to display images, text, video content, your webcam feed, gameplay footage, desktop activity, and more.
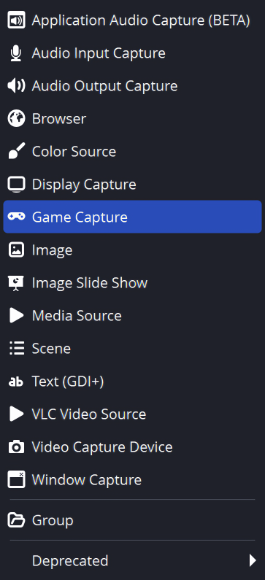
At the bottom of the main interface, you’ll find the Sources Dock. Click the + symbol to add your desired source. Here are several fundamental Sources to help you begin:
- Display Capture Source and Window Capture Source (for Windows and Linux) or macOS Screen Capture Source (for macOS) — capture your entire desktop or a specific window
- Game Capture (Windows only) to capture 3D games with maximum performance
- Video Capture Source to incorporate your webcam and/or capture cards
Setting Up Audio
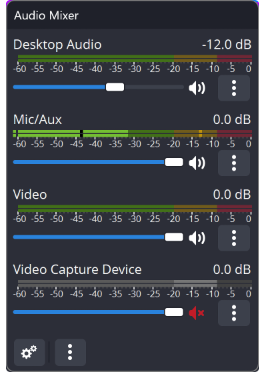
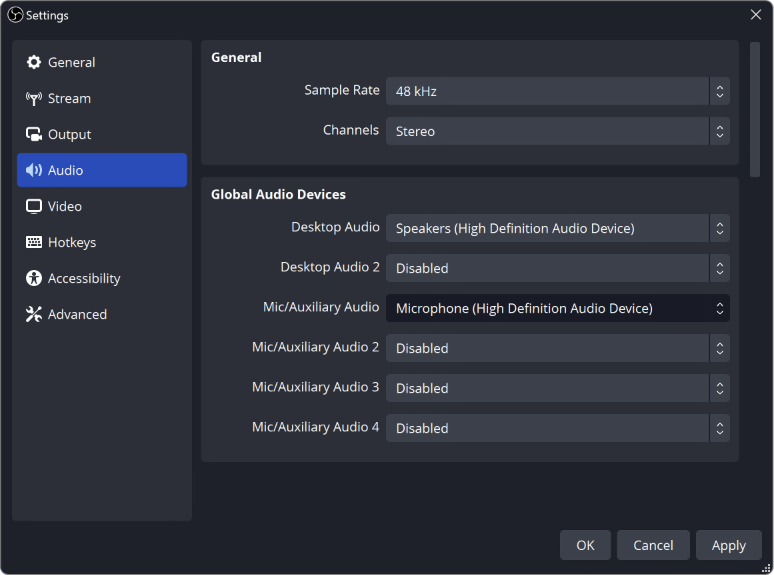
By default, OBS Studio is configured to capture both your desktop audio and microphone input. You can verify this by observing the volume meters in the Audio Mixer located at the bottom of the main OBS Studio window. If these meters aren’t moving, or if you suspect an incorrect device is being captured, navigate to Settings → Audio and manually select the appropriate devices.
Final Checks and Testing
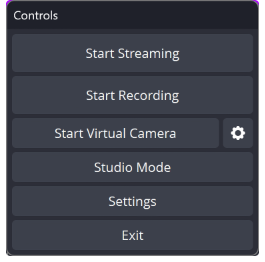
Double-check that all your settings are configured as desired in Settings → Output. Then, click either Start Recording or Start Streaming in the Controls Dock.
We strongly recommend conducting a brief test for several minutes to ensure everything functions properly before embarking on your first actual stream or recording session. This preliminary testing helps identify and resolve potential issues before they affect your live content.
With these foundational steps completed, you’re now ready to begin creating professional-quality streams and recordings with OBS Studio!