

Streamlabs OBS Quick Start Up Guide
Introduction
There are two main Broadcasting Software options for Twitch: OBS Studio and Streamlabs. Streamlabs OBS (now called Streamlabs Desktop) is more user-friendly, while OBS Studio offers greater customisation. Both are excellent broadcasting tools—choose whichever suits your needs.
This quick setup guide will walk you through the essentials of Streamlabs Desktop, from configuring your live stream with overlays to optimising your settings for top-notch performance. Whether you’re just starting out or are an experienced streamer, Streamlabs Desktop provides the tools and features needed to captivate your audience and elevate your content.
Initial Setup
Before you can begin streaming, follow these steps:
-
Visit https://streamlabs.com/ to download the software for your operating system.
-
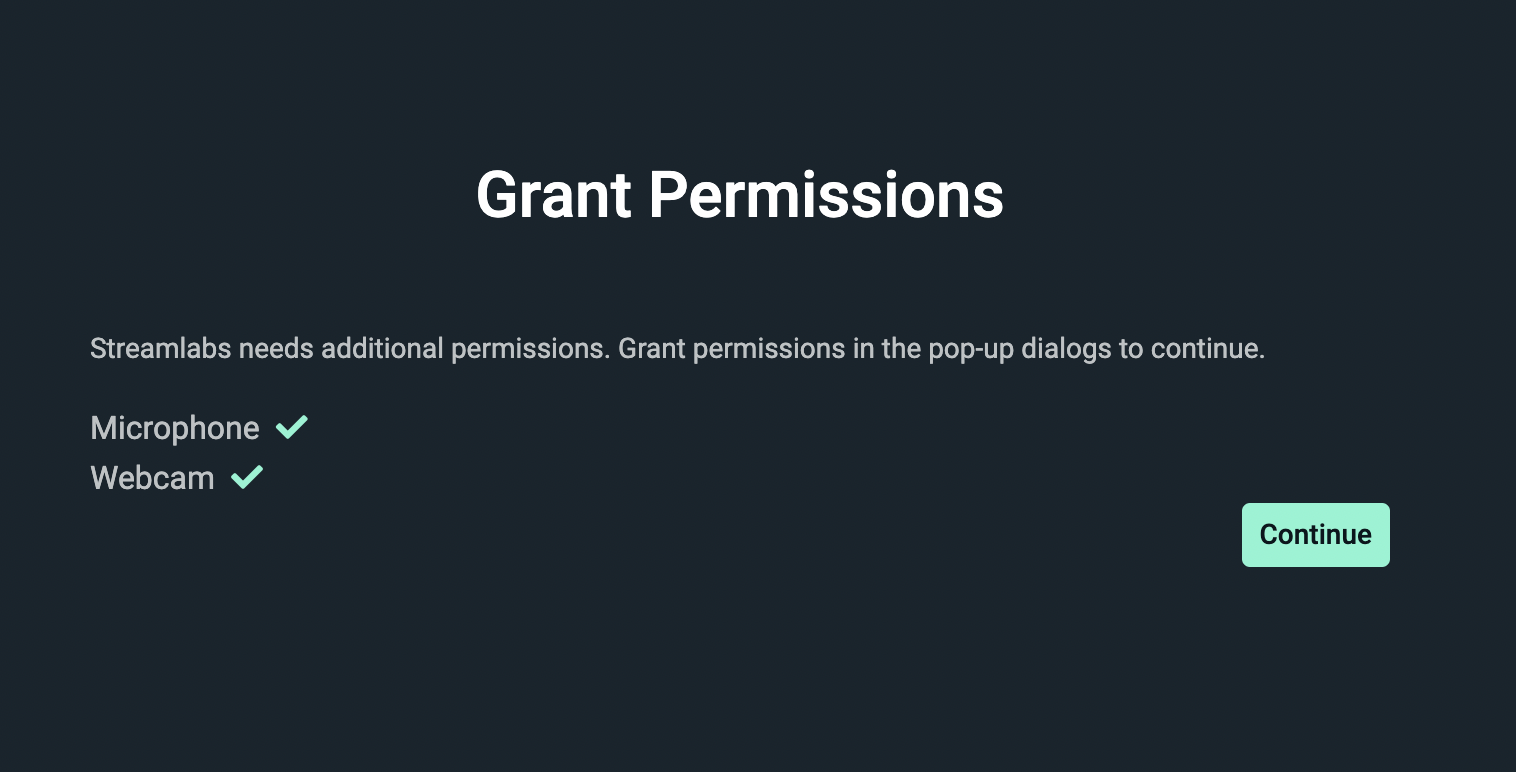
For Mac Users: When first launching Streamlabs Desktop, the application will detect your built-in mic and webcam. Grant Streamlabs permission to use these devices and click Continue.
- Purpose Selection: Indicate whether you’re using Streamlabs for:
- Live streaming (with some recording)
- Strictly for screen recording
- With a camera
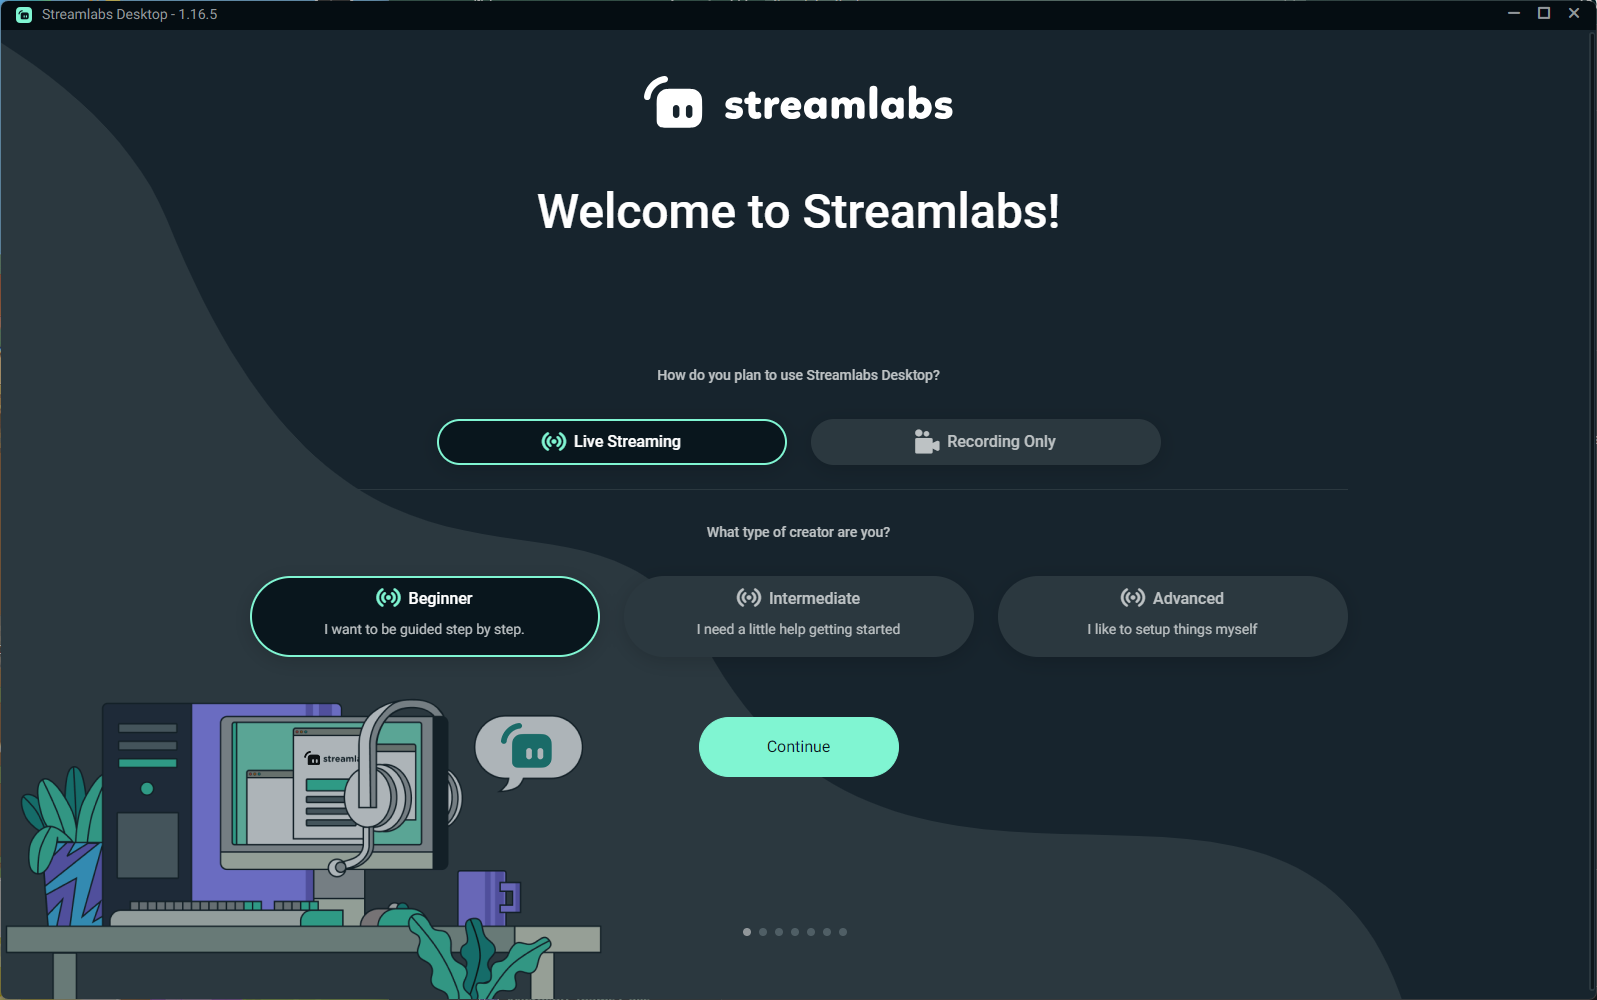
Also specify your experience level (beginner, intermediate, or advanced) to determine how much setup assistance you’ll receive. Make your selections and click Continue.
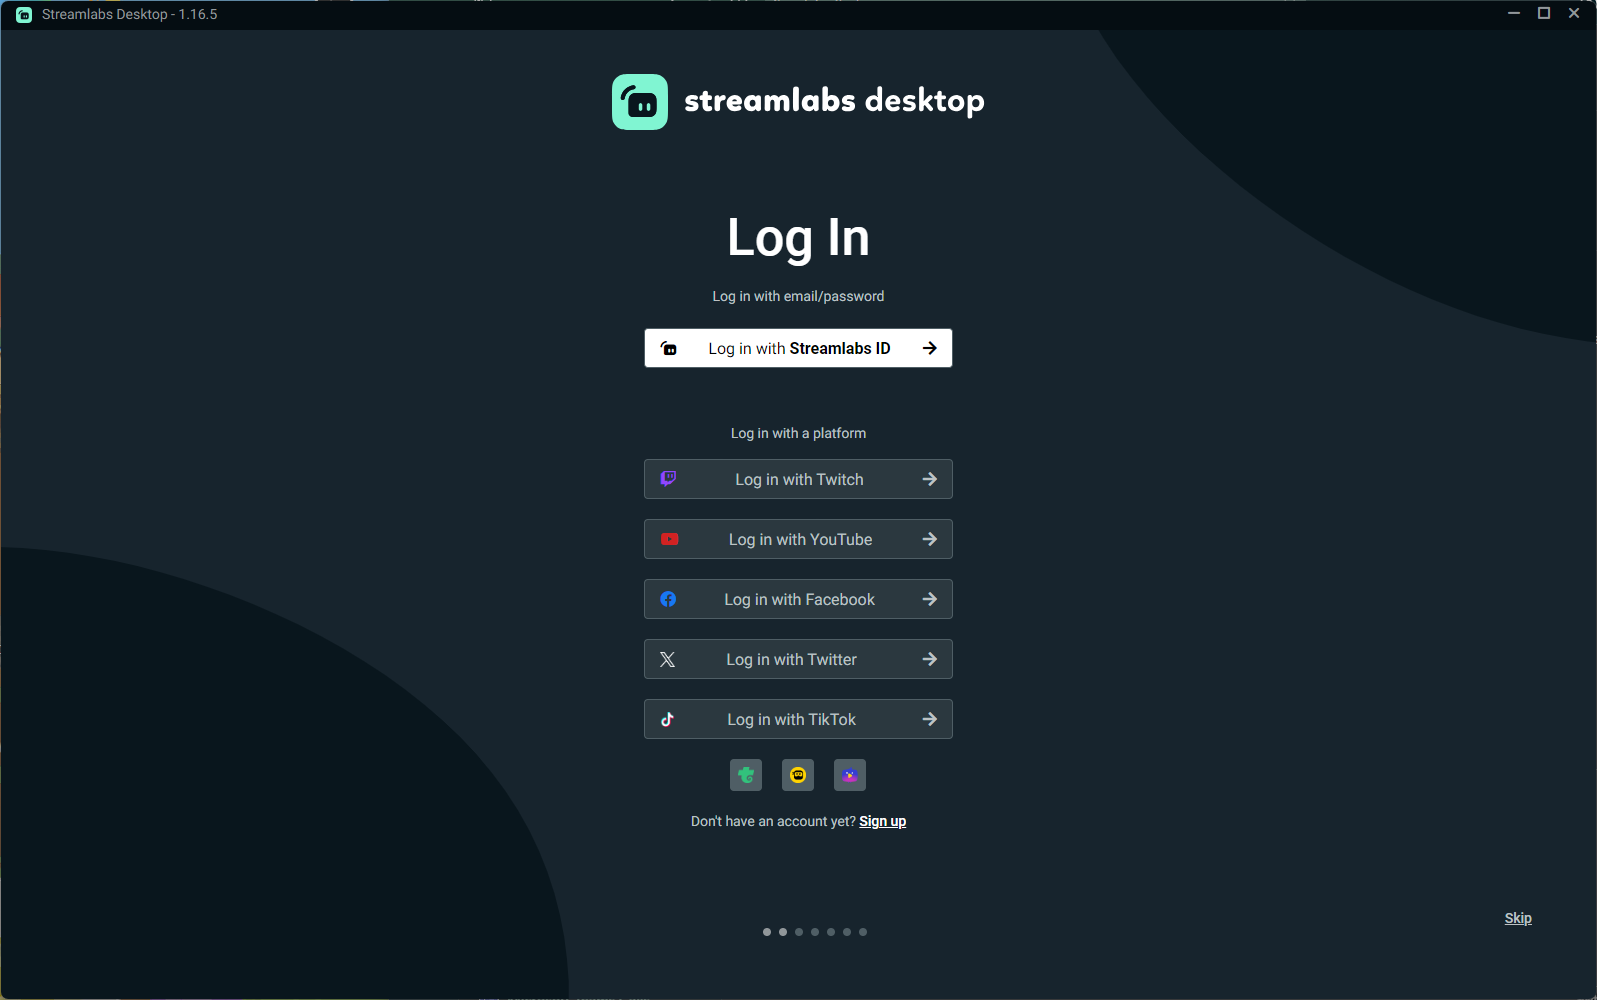
- Account Login: Sign in with your StreamlabsID or your preferred streaming platform. If you don’t have an account yet, select the signup option and follow the instructions.
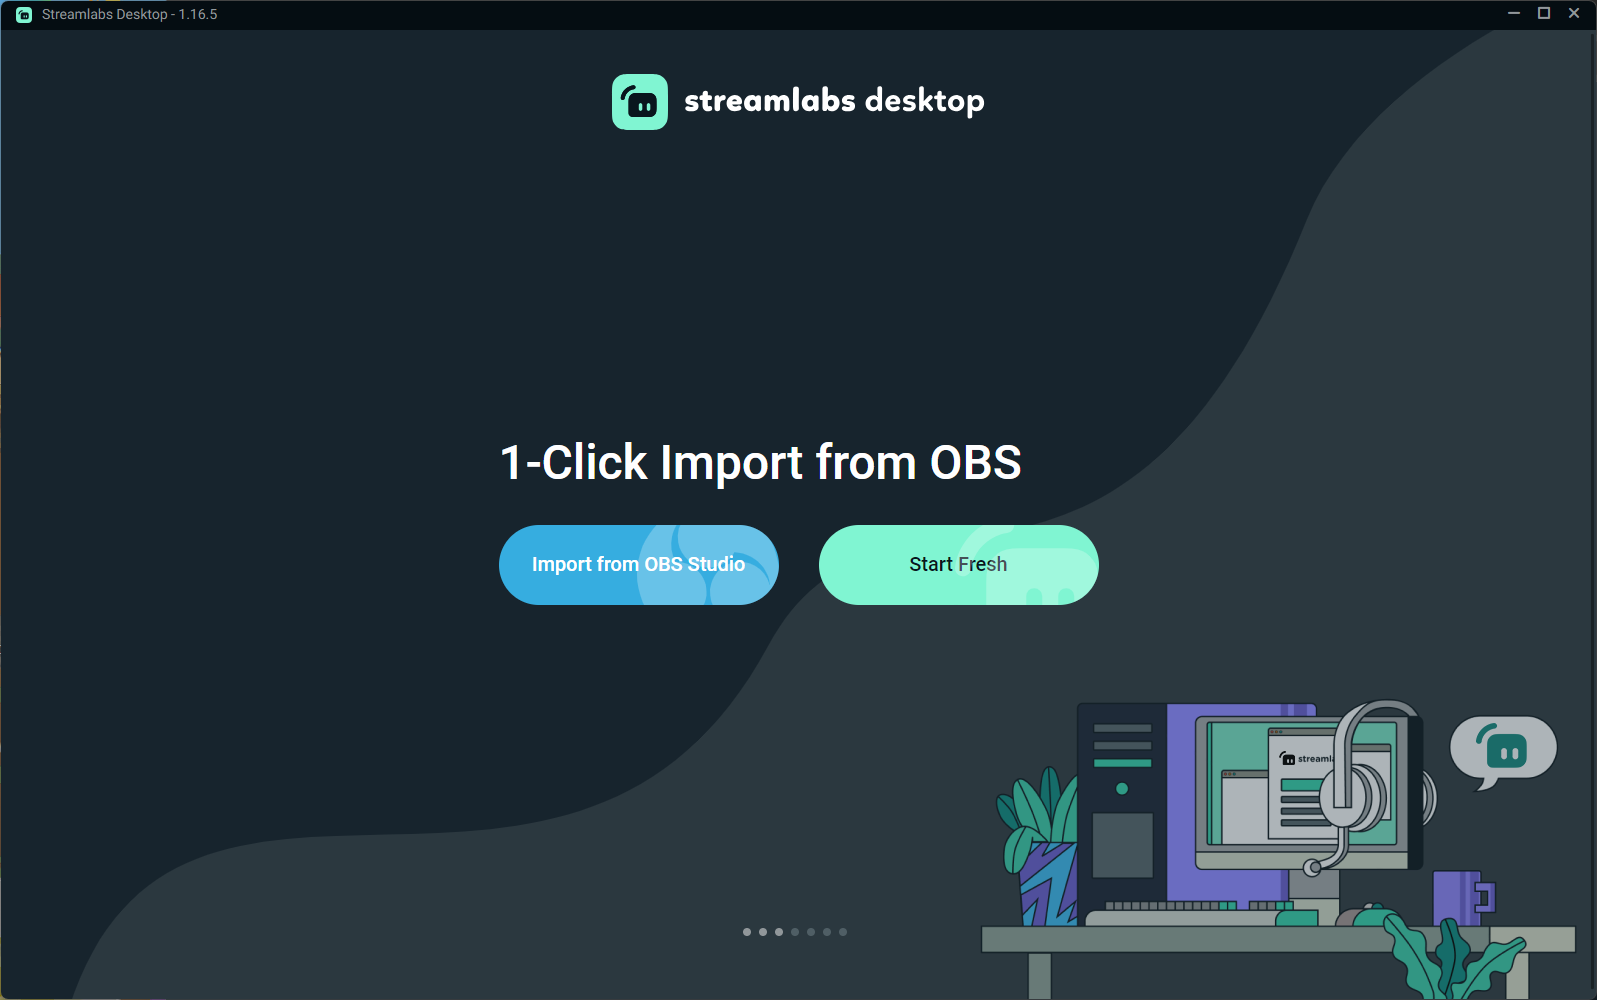
- OBS Import (Optional): If you previously used OBS Studio, you can import your scenes and profiles with one click. Otherwise, select Start Fresh.
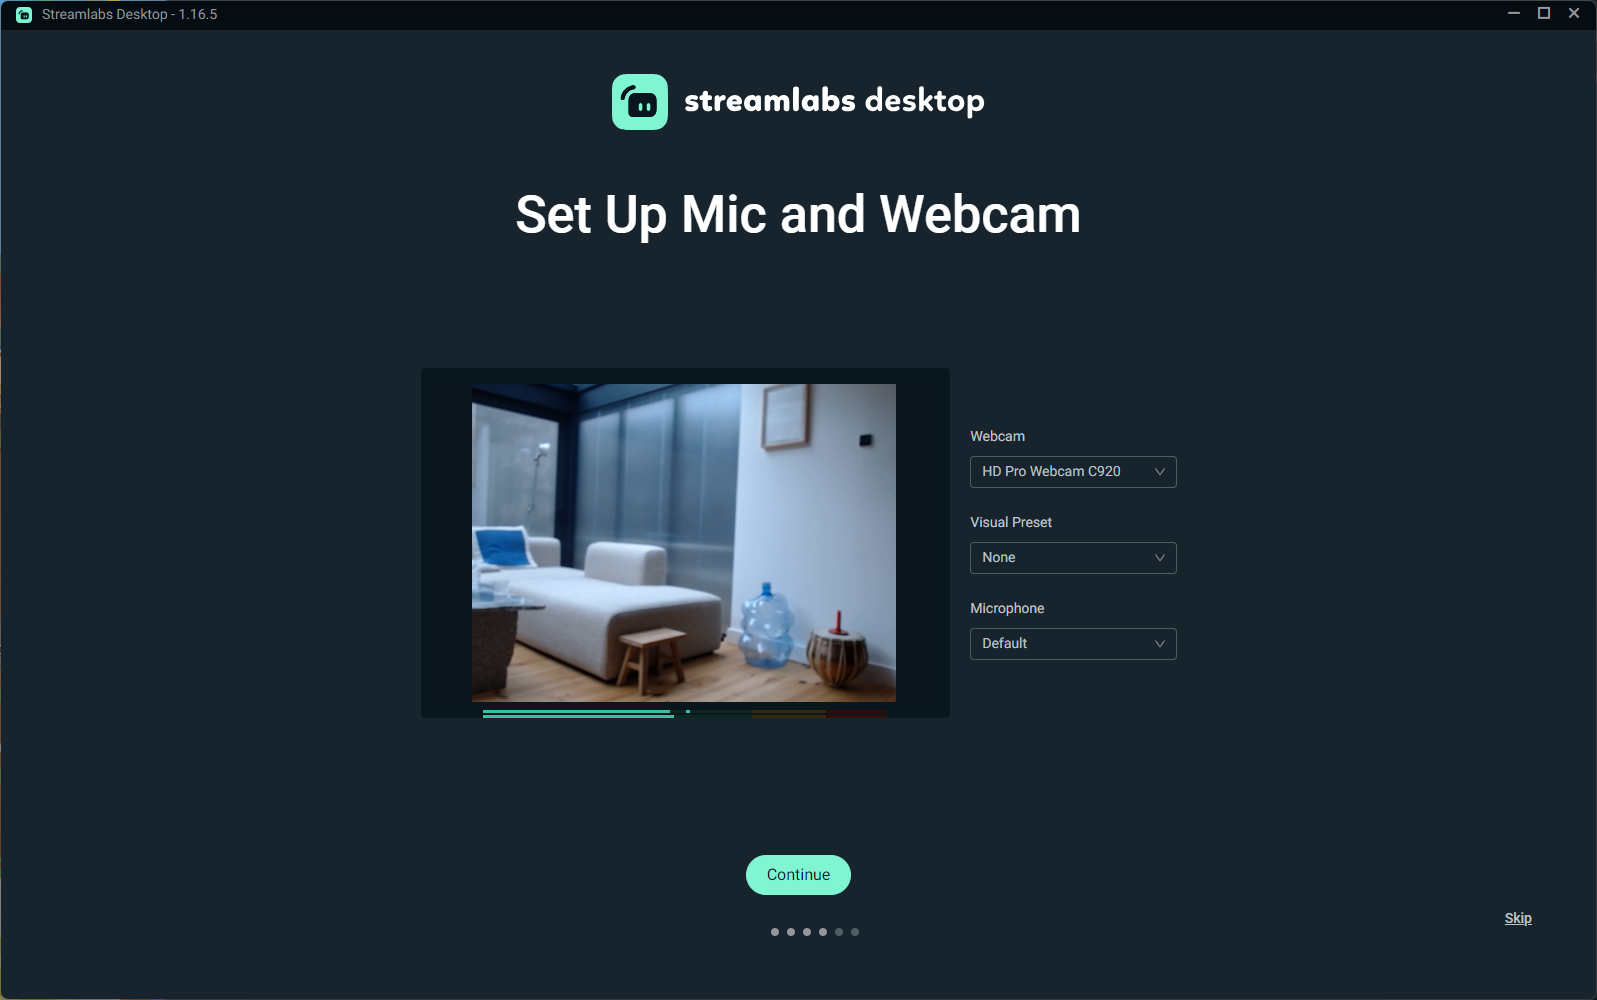
- Audio/Video Setup: Configure your microphone and webcam by selecting your equipment from the dropdown lists. You can also select visual presets (e.g., Grayscale, Sepia Tone, Action Movie) at this stage.
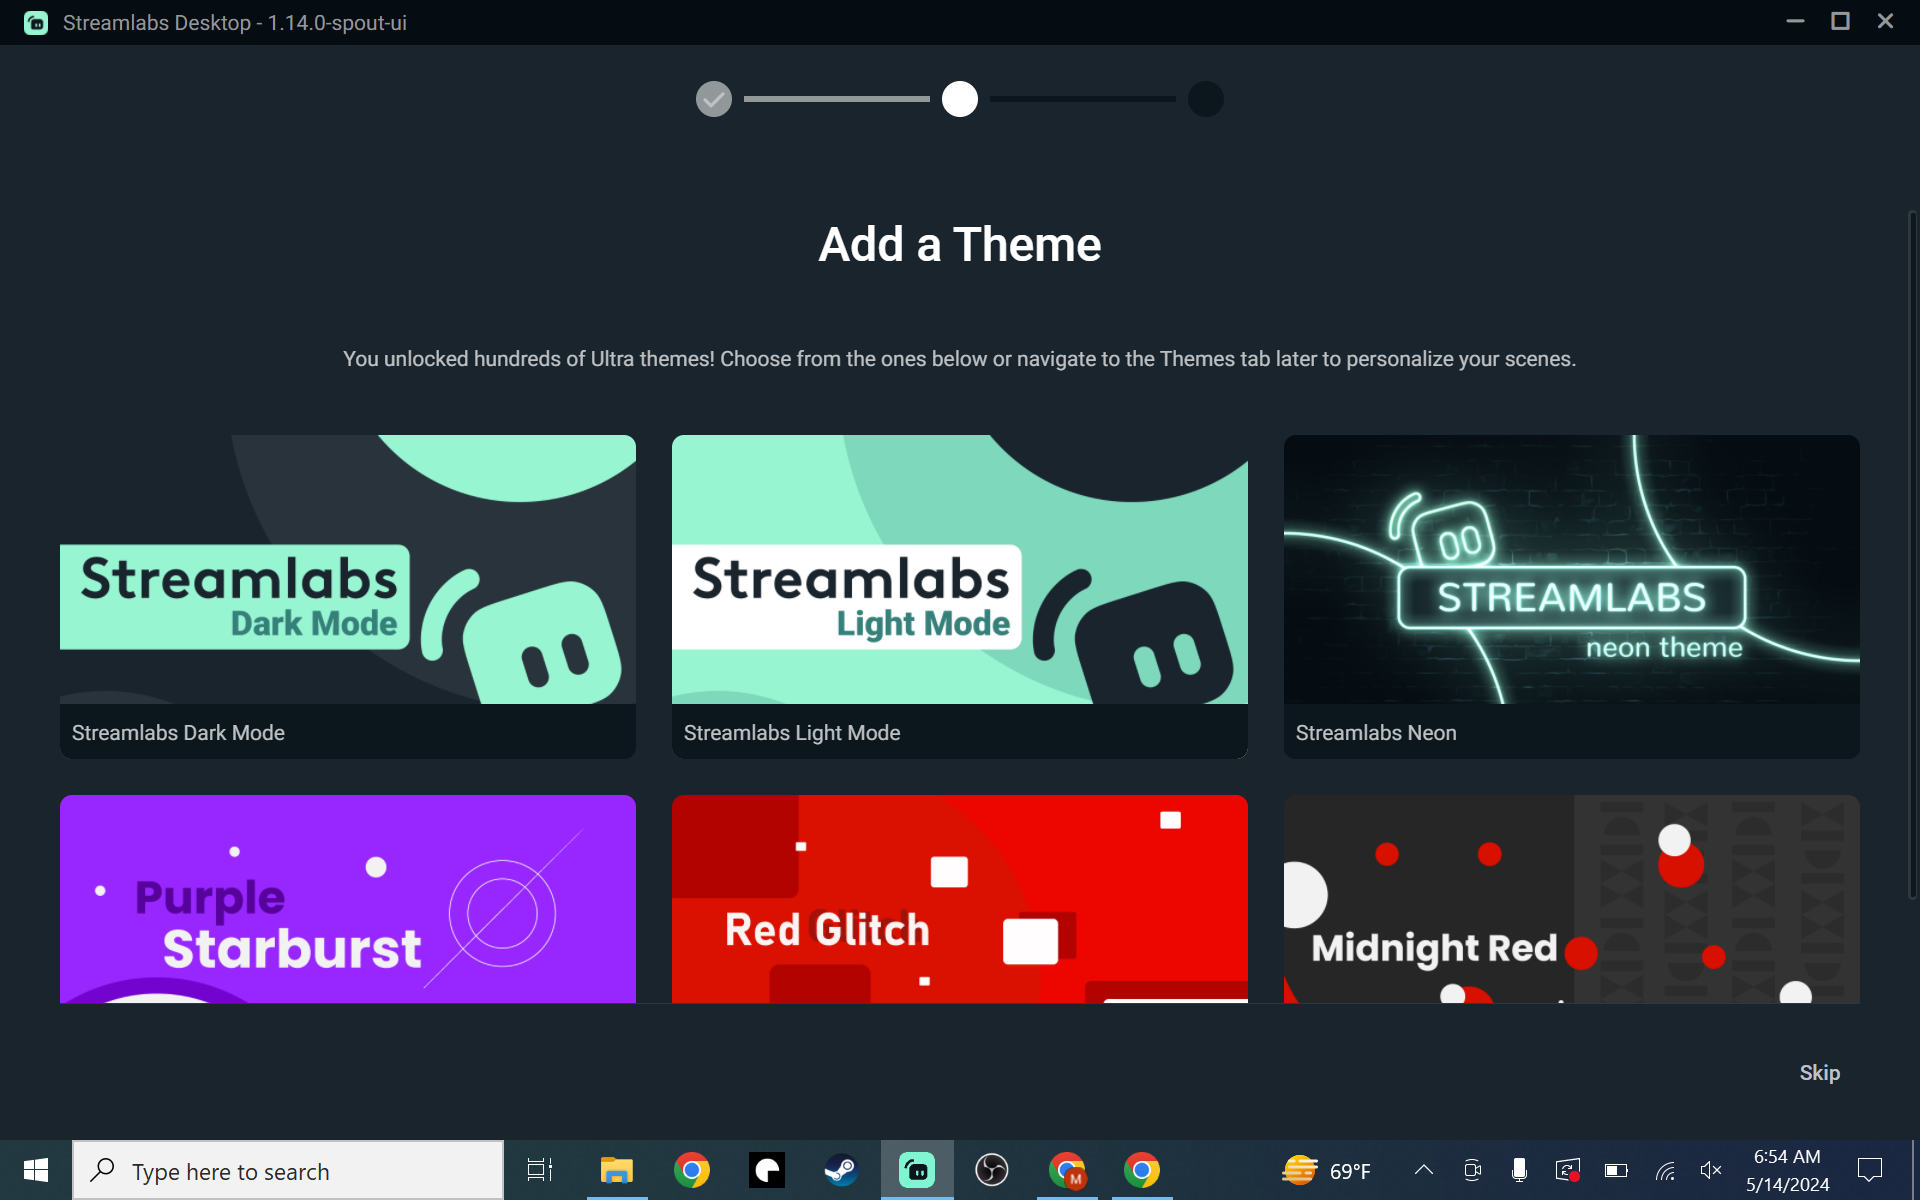
- Theme Selection: Choose a theme for your live stream from those presented during the initial setup. You can always personalise your stream later.
- Subscription Options: Streamlabs Ultra subscribers receive access to premium features like:
- Premium overlays
- Multistreaming capabilities
- Custom tipping pages
- And more
Ready to Stream
Once you’ve completed the initial setup process, you’ll see your main Streamlabs Desktop editing window. From here, you can begin editing your overlays and preparing for your first stream.
Your Streamlabs Desktop is now configured and ready for you to customise further to match your streaming style and preferences.